Installation Guideline
Document Version: v1.0
Date of Update: 14.01.2019
Online Review
Click to review Layer 2 Tunneling online.
Username: demo_en
Password: demo_en
Before Installation
Click here to obtain the ISO file.
Before installation, make sure that the installation CD or ISO file is provided by Epati Information Technologies. Make sure that the seal of Epati Information Technologies on the CD envelope is not damaged.
Note: If there is any doubt during these checks, do not continue with the installation.
Tunneling software is intended for use in a physically protected environment. Ensure that only authorized persons have from access to the hardware before installation. Ensure that the machine to be installed has a minimum of 64 GB of SSD disk and 2 GB of memory.
After installation starts, you can restart it by pressing Ctrl + C.
Installation
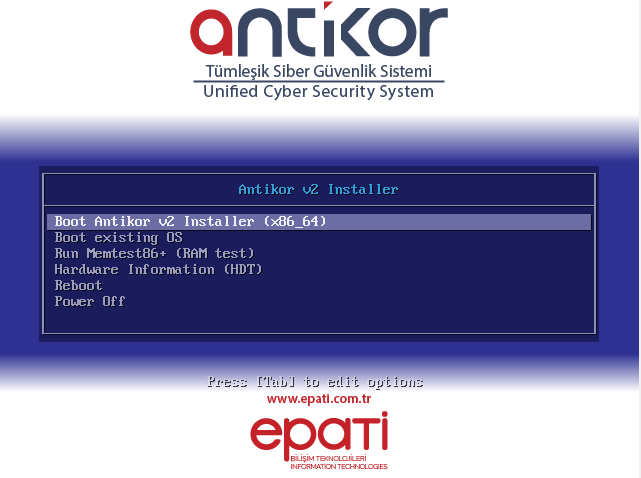
In the above image;
Boot Antikor v2 Installer (x86_64)The new Antikor is for L2 tunneling installation.Boot existing OSThis option must be selected if you want to exit the Antikor L2 Tunneling setup screen.Run Memtest86+ (Ram test)This option should be selected if the Ram test is to be performed.Hardware Information (HDT)This option must be selected if hardware information is desired to be displayed.RebootThis option must be selected if restarting is desired.Power OffThis option must be selected if the Antikor L2 Tunneling device is to be switched off.
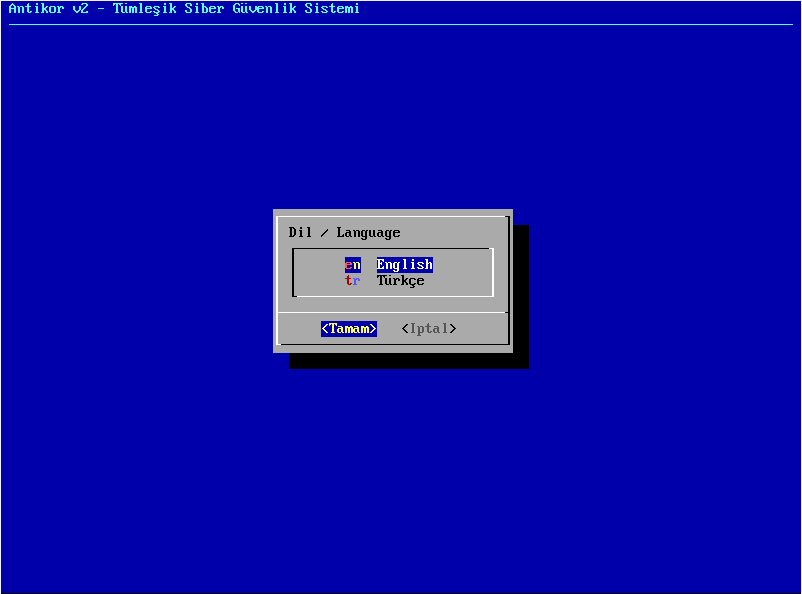
Language Selection
The language selection to be used for tunneling software is determined.
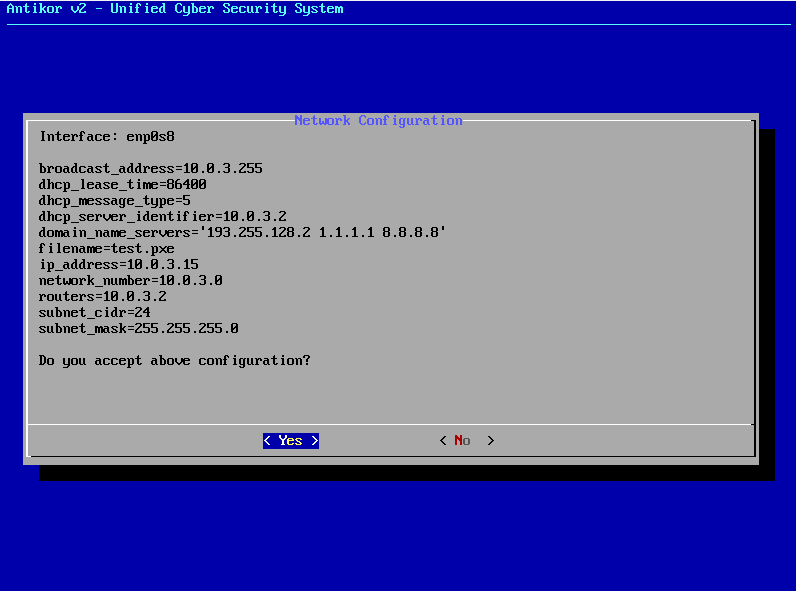
Network Configuration
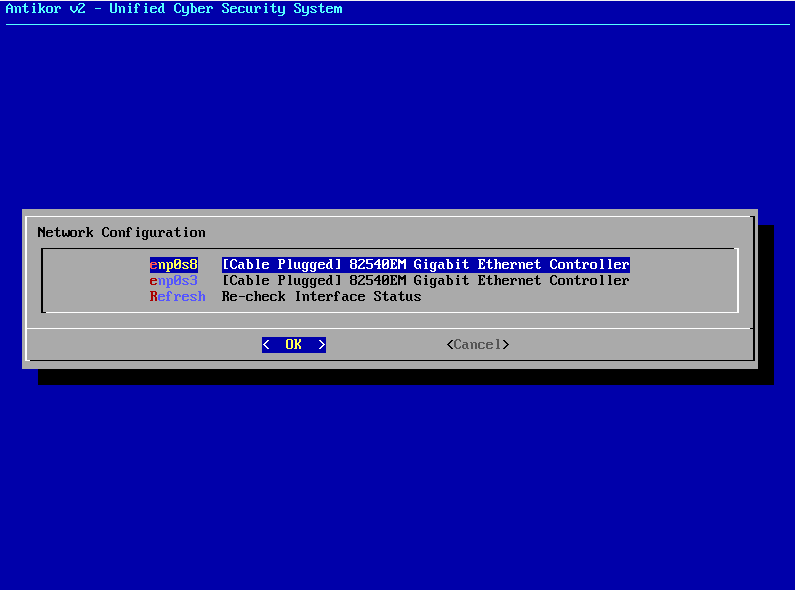
In this screen there are 2 Ethernet connections. Choose desired Ethernet connection for installation and proceed with installation.
Note: In the event no Ethernet cards is showed, check connections and choose “Refresh Recheck Status” option.
DHCP - Manual Selection
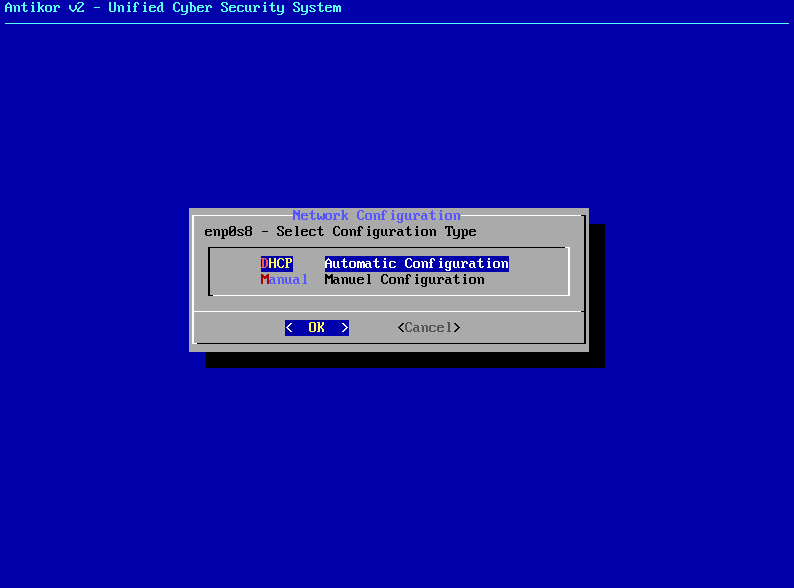
By choosing DHCP, the system will connect to the Internet by chooseing an IP from the list of IPs that are being distributed. If there is no system to distribute IP, a manual IP is taken thereby connecting to Internet.
License
The license information given by Epati Information Technologies is enter.
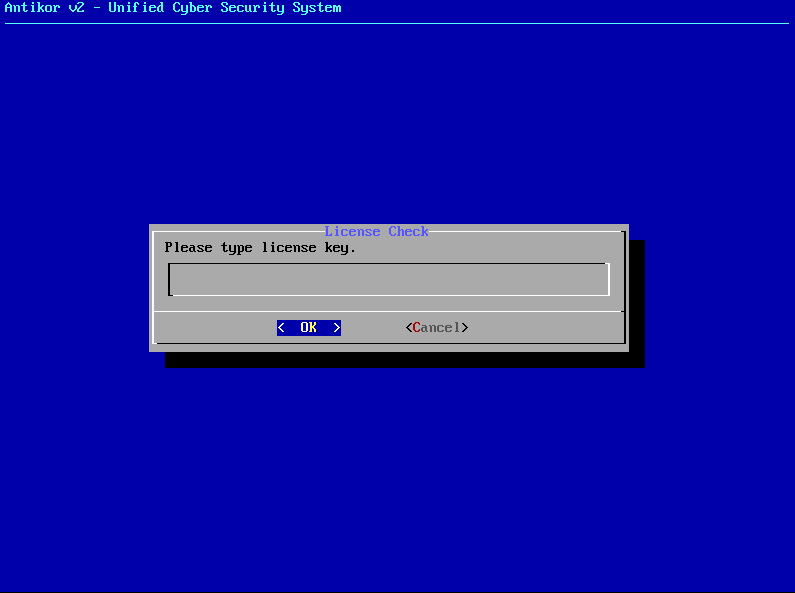
Package shall begin to be downloaded if License is verified.
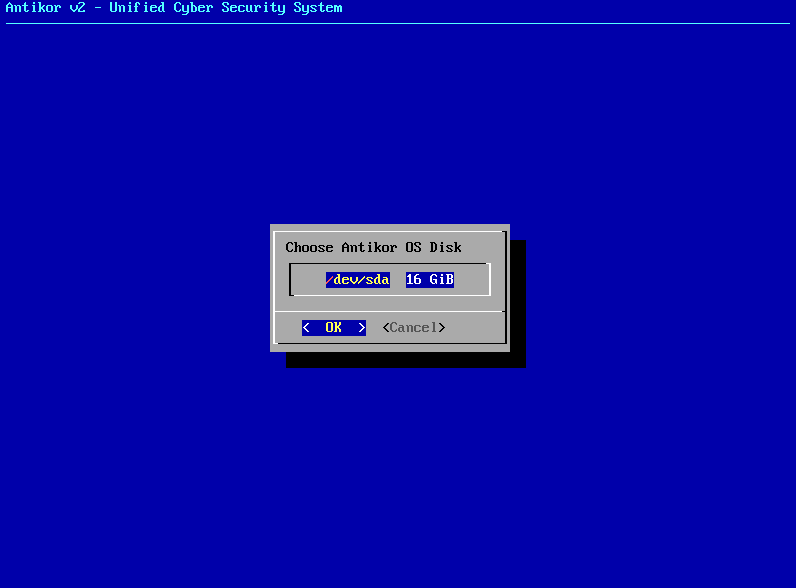
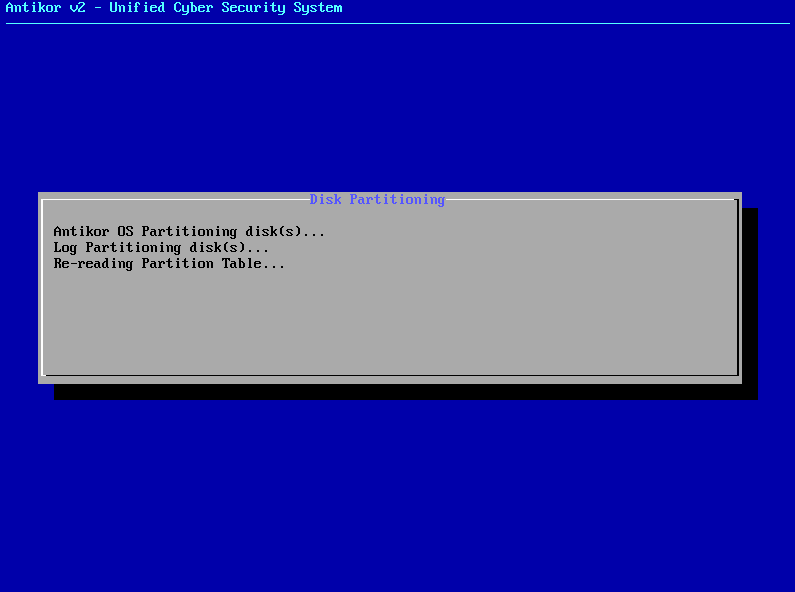
Disk Partition
In Disck Configuration screen, choose disk where the installation shall take place.
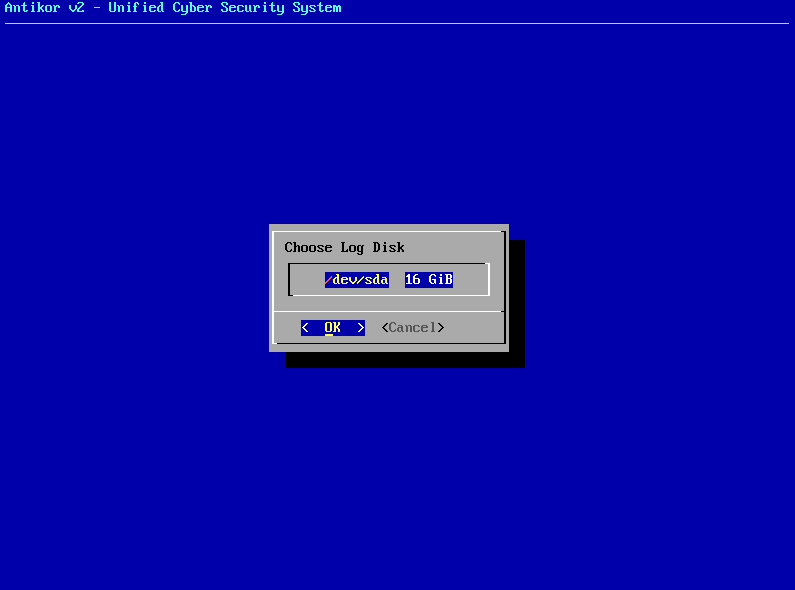
If there are 2-3 different disks on the server, Antikor Tunneling software and logs can be installed on 2 different disks. If there is a single disk, it will be installed on the on disc.
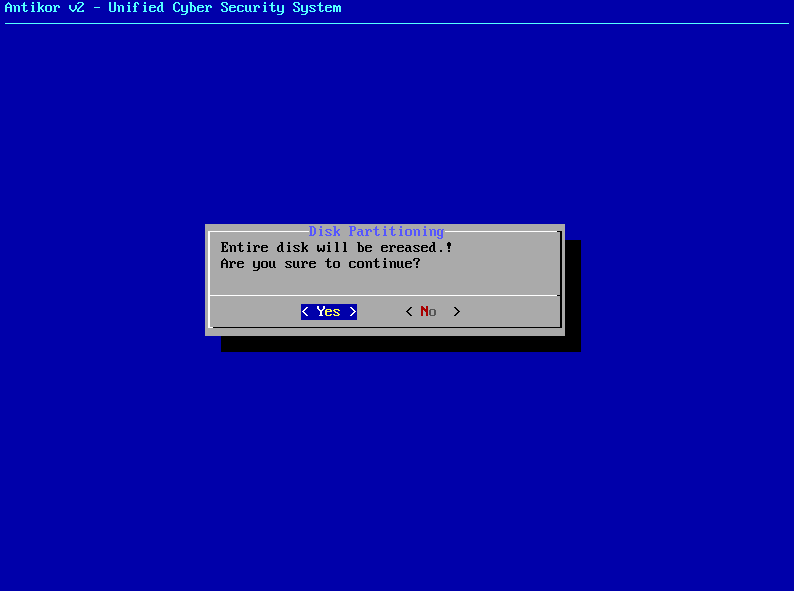
The system informs you that all data in the disk will be erased.
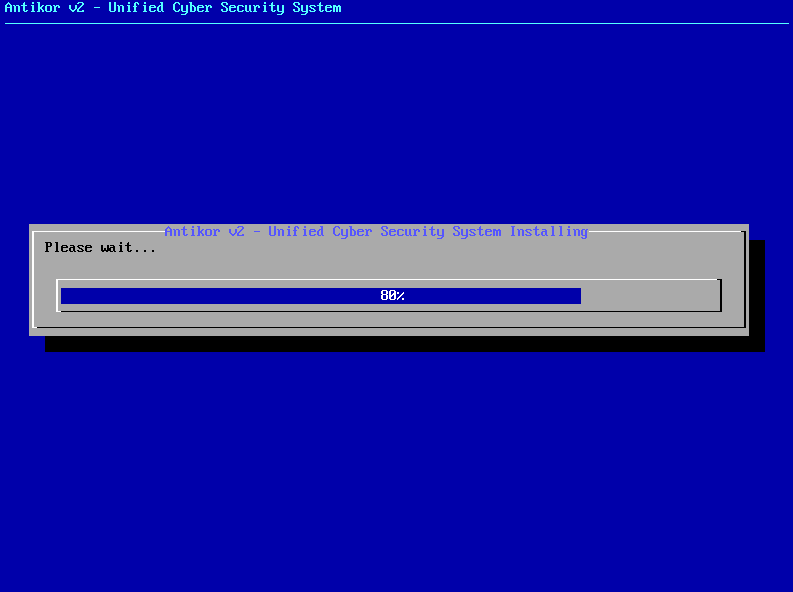
Antikor2 installation begins.
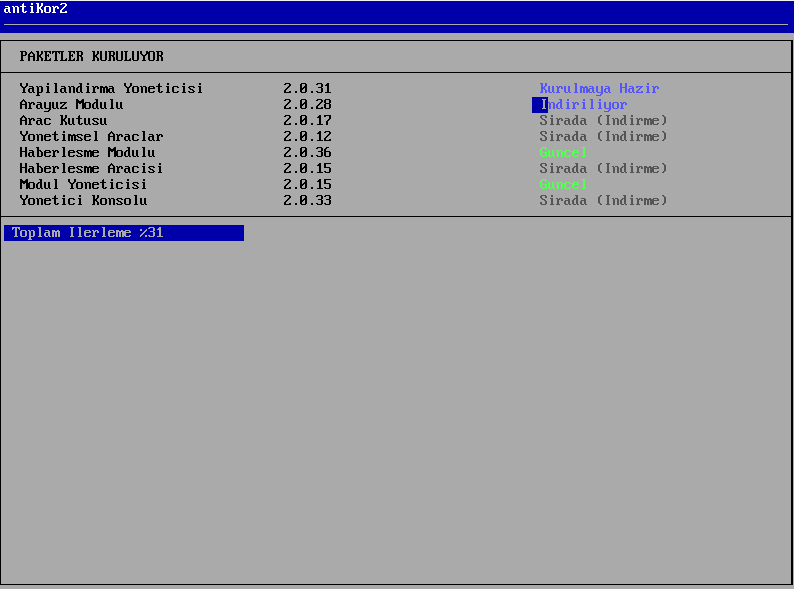
The following message is showed when installation is completed.
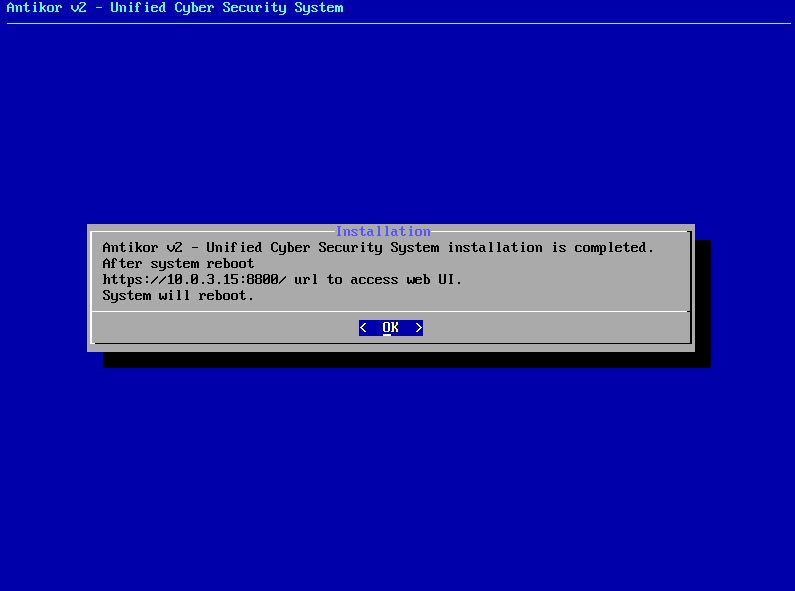
The system restarts and following screen appears. The system is ready. The above is typed in the address bar to log into web interface. During initial login type antikor for username (admin) and password.
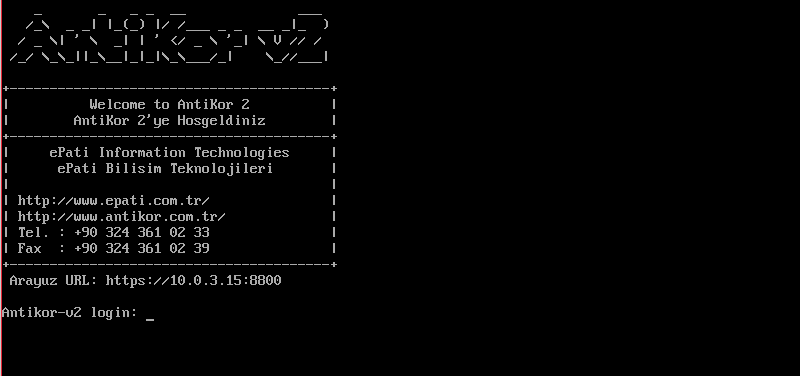
In both console and web interface type antikor for username (admin) and password.
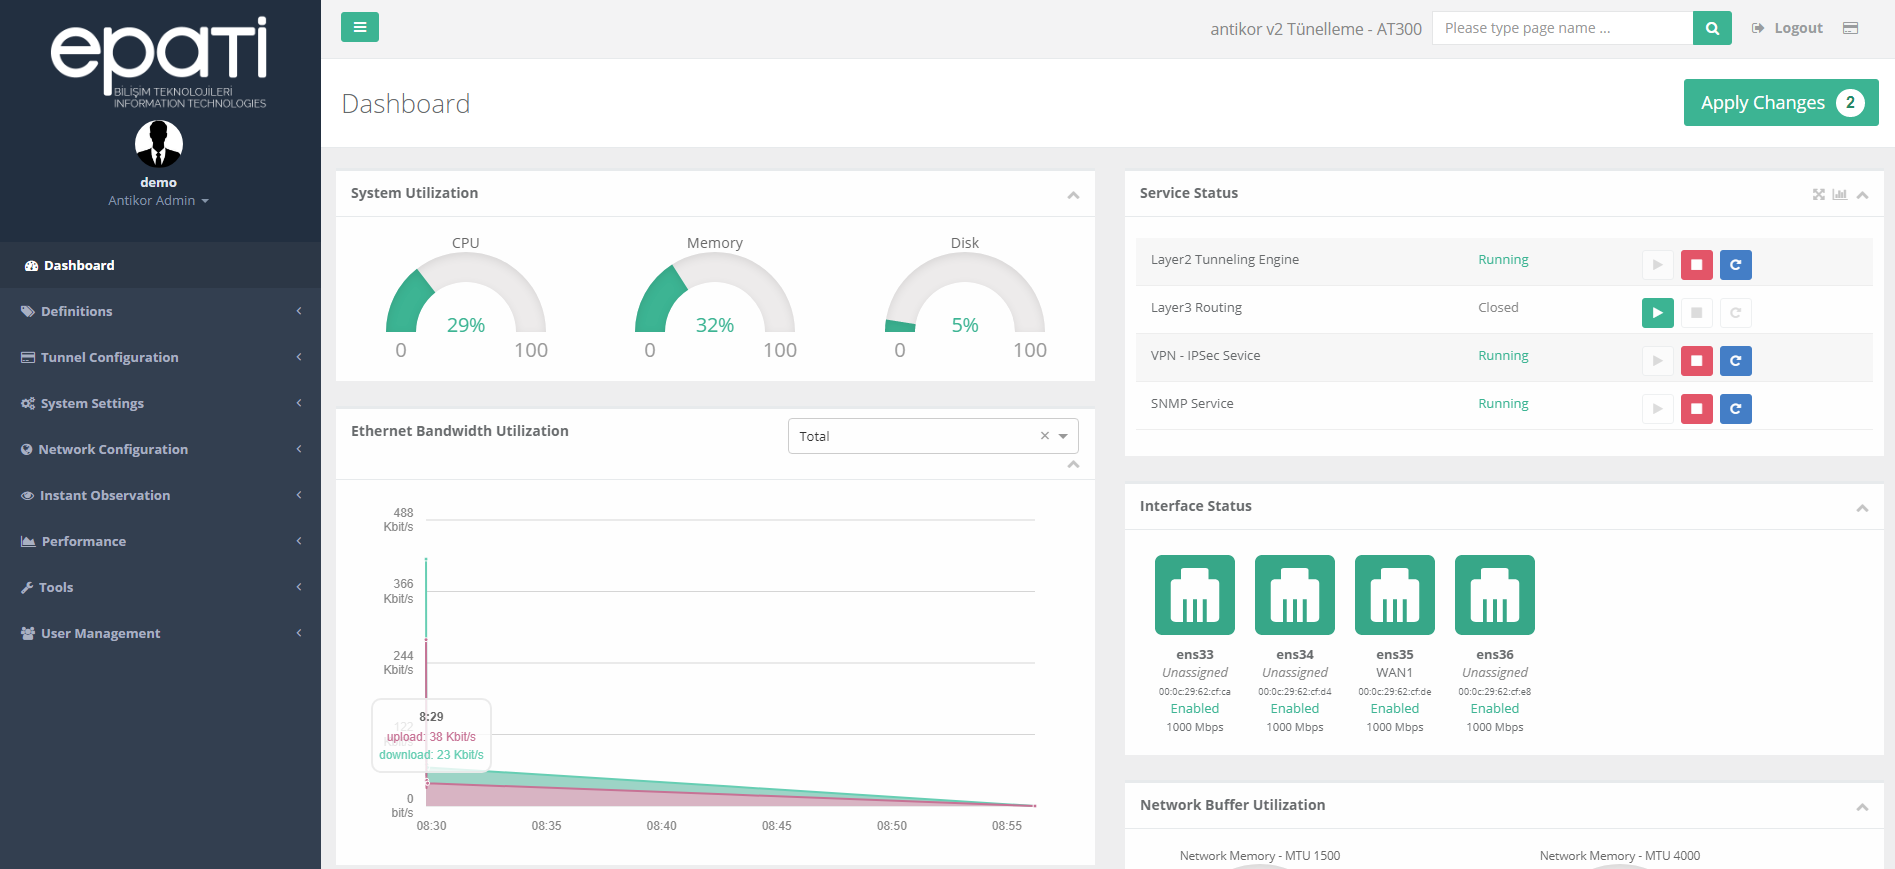
How to Access in L2 Tunnelling WEB Interface?
Configurations can be made by accessing the tunnel with any web browser on the computer. (Internet Explorer, Chrome, Firefox etc.) Before configuring make sure that the tunneling setup IP address is correct and that the cables are plugged in.
- The IP address (https://10.0.3.15:8800) given to the Tunnel is entered in the address field of the browser. Since it is Port 8800, it should be noted that ”https: //” is written.

- On the page that opens, click on the login button by typing the user name “demo” and the password “demo.”
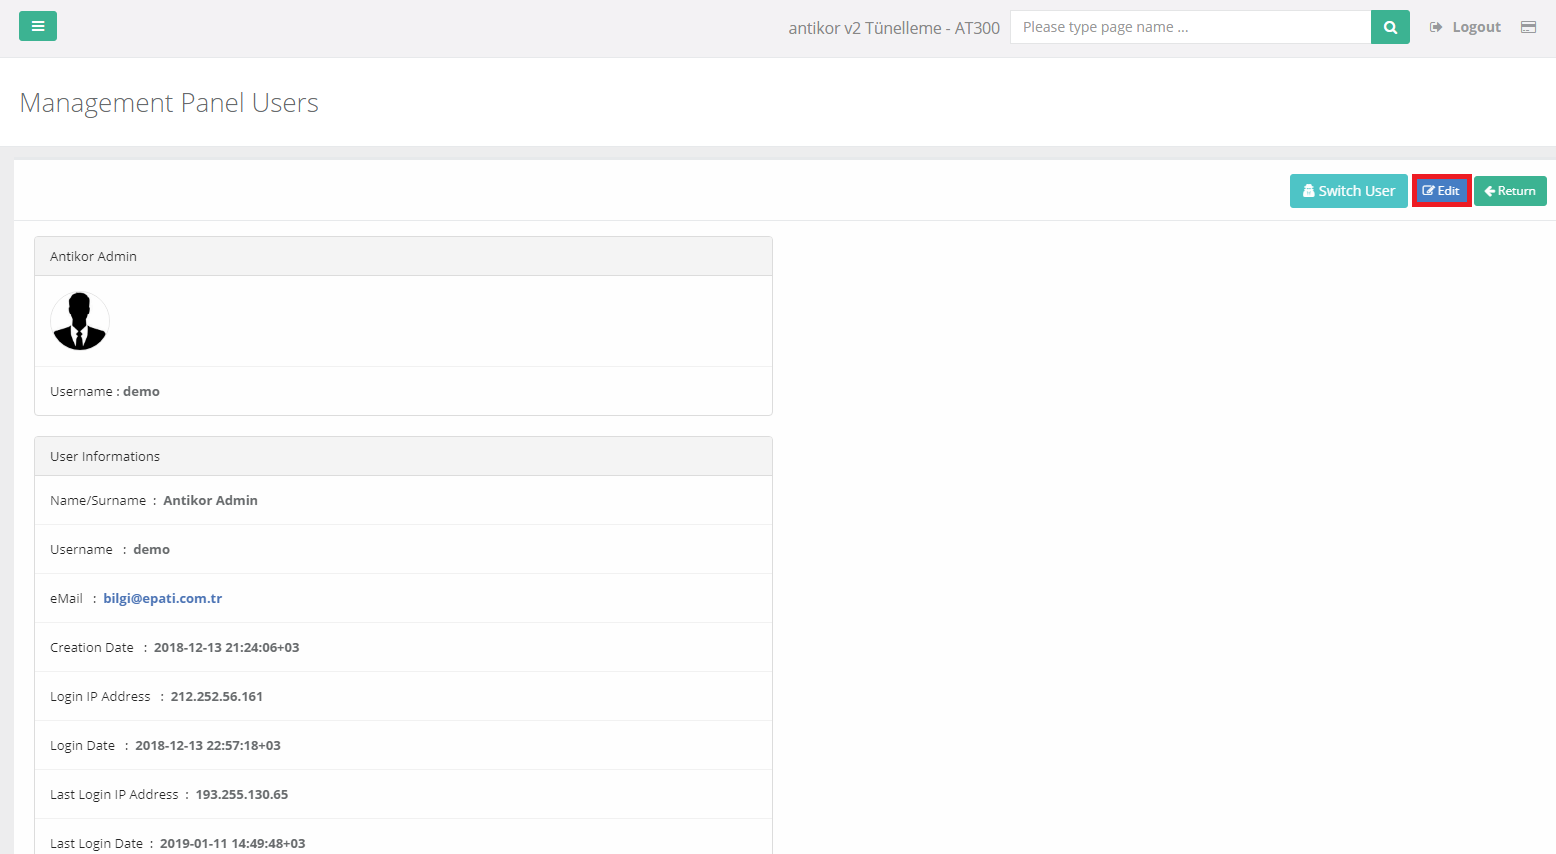
- After login the interface, the password must be changed for security purposes as the first step. Click, the Management Panel Users under the User Management menu.
After, click the “Details” button.
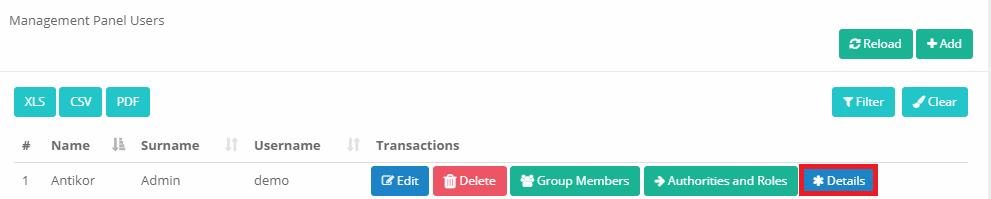
Click the “Edit” button on the page that opens.
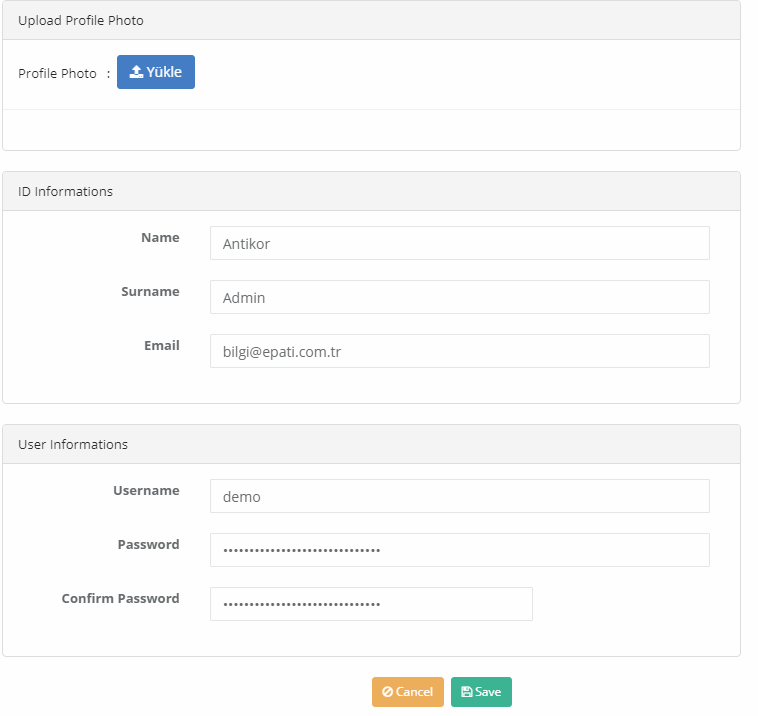
In the User Information section, enter the new Password and click the “Save” button.
Institutional Security Policy
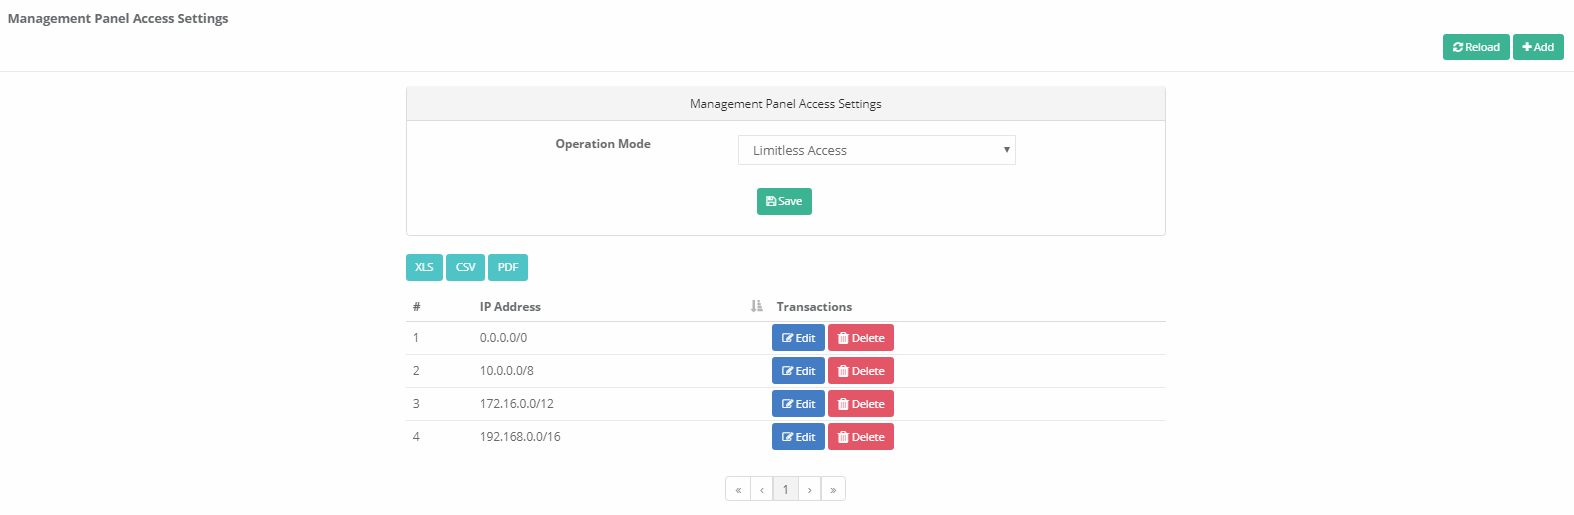
Click, the Management Panel Access Settings under the System Settings menu.
For the WEB interface Limitless Access can be opened or that can Limited Access can be specified.
ePati Cyber Security Co.

Mersin Üniversitesi Çiftlikköy Kampüsü
Teknopark İdari Binası Kat:4 No: 411
Posta Kodu: 33343
Yenişehir / Mersin / TURKEY
Web: www.epati.com.tr
e-Mail: info@epati.com.tr
Tel: +90 324 361 02 33
Fax: +90 324 361 02 39