Console Panel
AntiKor 2 is the control panel installed on a server to which we can connect directly with the keyboard and monitor and perform such actions as IP assignment, license extension, checking of status of the services.
The console interface can accessible via SSH and ILO when necessary. The connection with SSH is explained in detail in the manual of SSH, and in order to connect with ILO, ILO settings of our server should be made.
Introduction to Console Menu
For Console Management Screen, the system requires us to login with username and password.
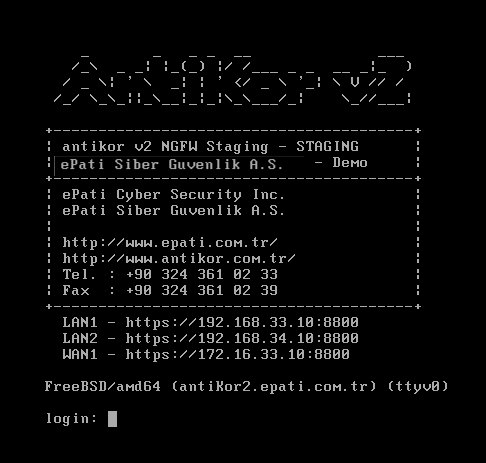
Login: admin
Password: antikor (password is not visible in password field)
After entering the username and password, the menu that we want is selected with the arrow keys on the menu that will be showed and the selection is made with the ENTER key.

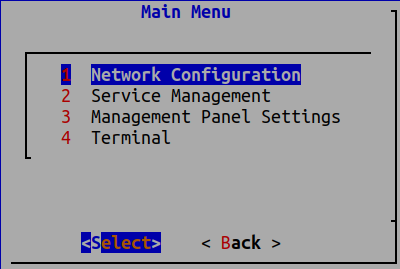
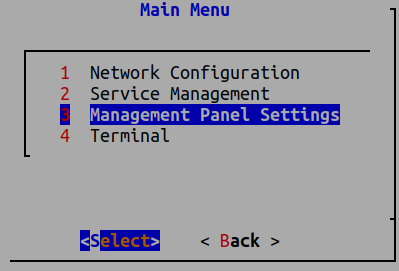
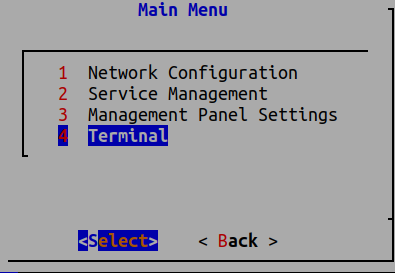
There are 4 main menus in the console interface and the submenus belonging to these menus. The submenus will be explained under the main menu.
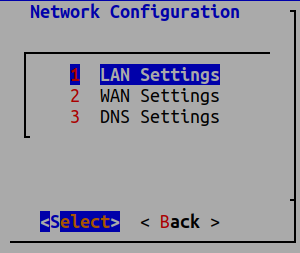
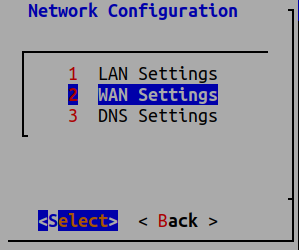
Network Configuration
Network Configuration menu is divided into three, namely LAN, WAN and DNS. IPs which are allowed to access the system are defined herein.
LAN (Local Network) Settings
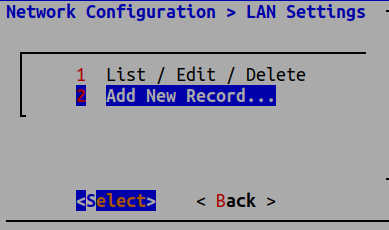
Open LAN settings.

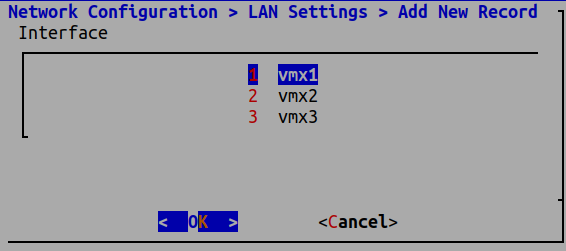
If you want to change the previously added LAN Settings, select List / Update / Delete. If LAN is to be added for the first time, select Add New Record… We continue by selecting the Add New Recording… Select “Ethernet Interface” and continue by selecting “OK”.
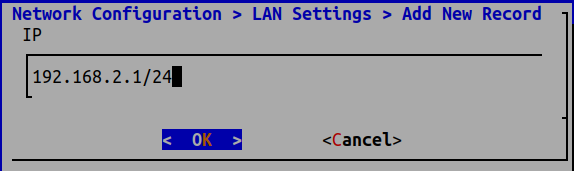
Assign IP and subnet mask desired to be assigned to the system.
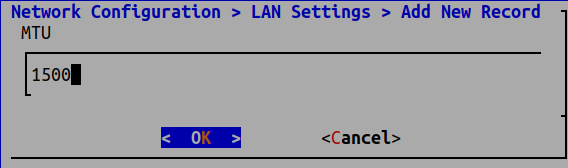
Set MTU(Maximum Transmission Unit) and click “OK” to continue.
Select speed on Speed List and click “Select” to continue.

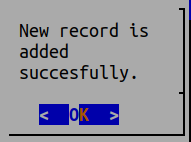
LAN is successfully created.
WAN Settings
Select WAN Settings to proceed.
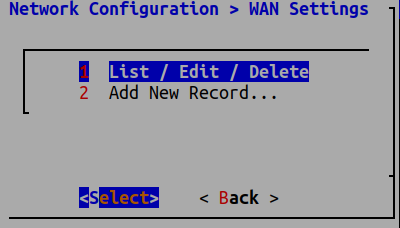
If you want to change the previously added WAN Settings, select List / Update / Delete. If WAN is to be added for the first time, select Add New Record… We continue by selecting the Add New Recording… Select “IP address, Subnet mask, Gateway, MTU and Speed List to proceed.
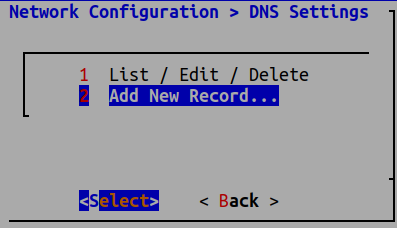
DNS Settings

Continue by selecting DNS Settings.
The DNS settings
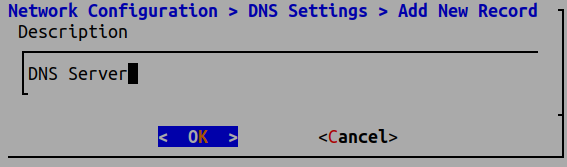
If you want to change the previously added DNS Settings, select List / Update / Delete. If DNS is to be added for the first time, select Add New Record…
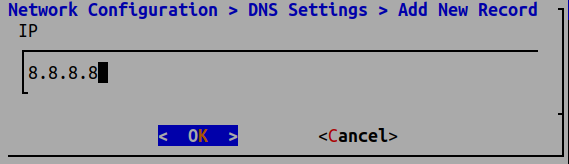
Enter DNS IP address and description.

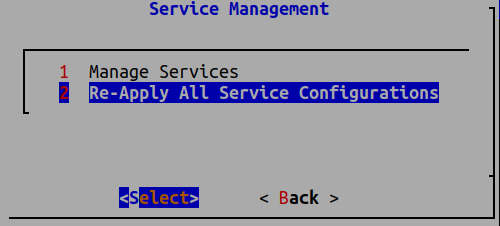
Service Management
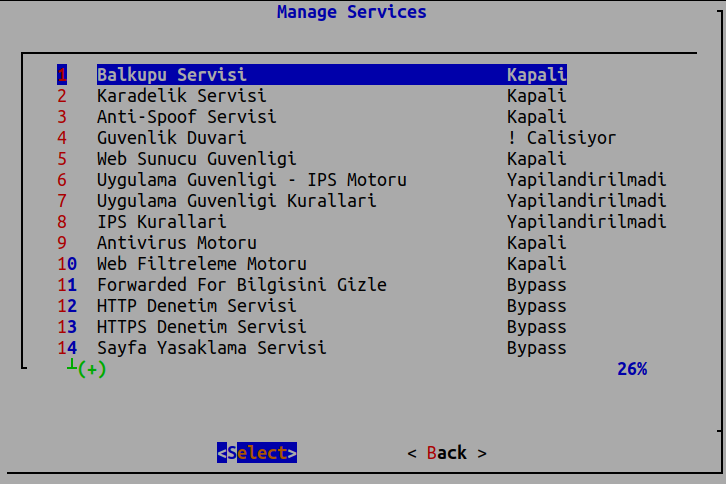
We can manage the services and apply the configuration of all services in a full list of the process to be applied.

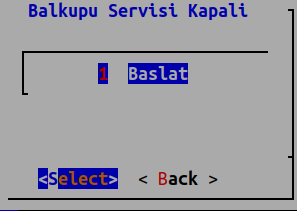
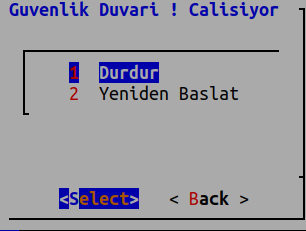
With manage services, you can stop or restart services that are running, and you can start services that are closed.
If the re-apply all service settings menu is selected, all definitions in the Apply list will be applied.
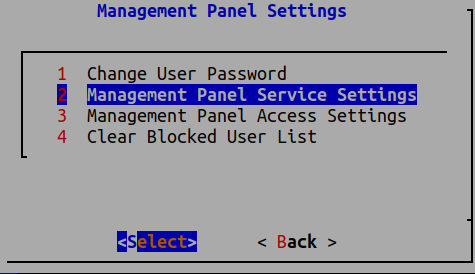
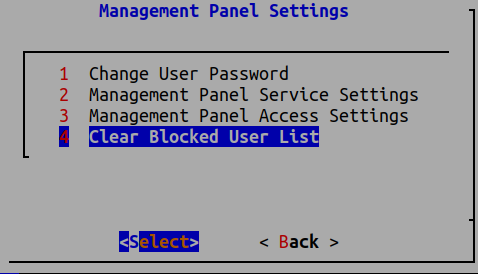
Management Panel Settings
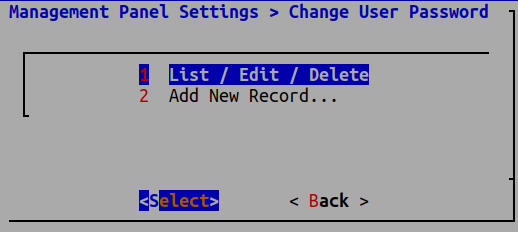
From the management panel settings menu, you can change the user password, perform Management Panel service settings, management panel access settings, and unblock users in the interface.

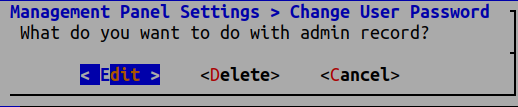
It is entered to change the user password or to edit the passwords of existing users.
Records are listed. (Only admin is available for this example)
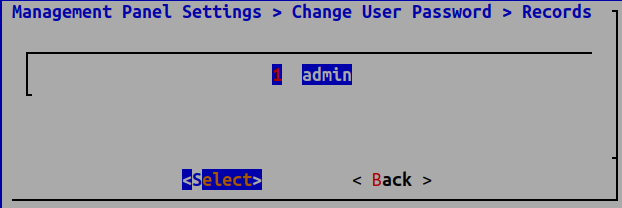
We can update or delete the Admin record. (We recommend that you do not delete all users.)
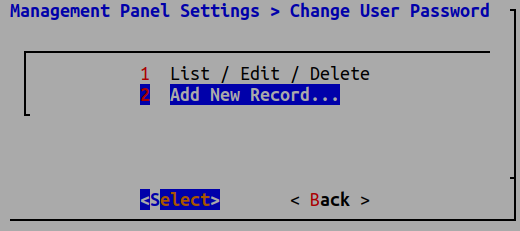
To add a new user, enter the Add new record…
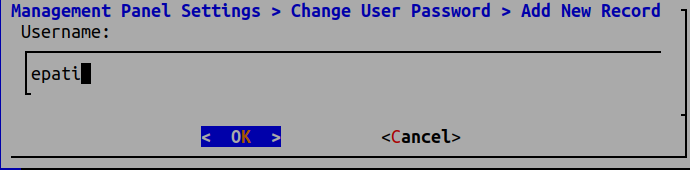
Enter the name of the new user to be created.
The user creation process is completed by entering a new password.
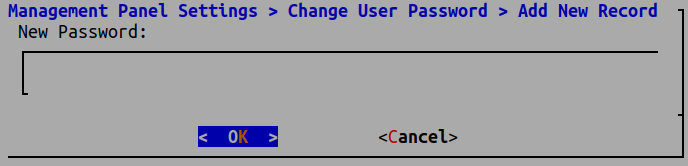
Note: Password characters don’t appear on the password screen.
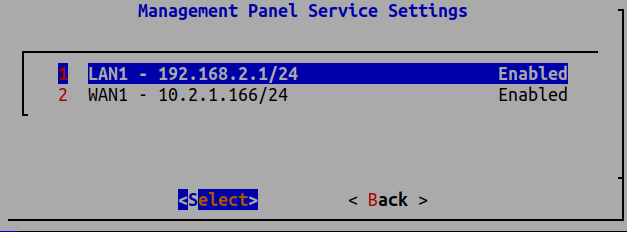
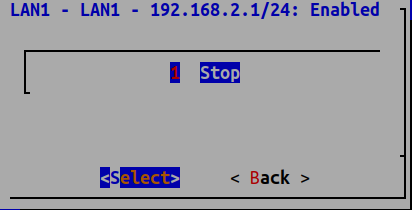
In the network interfaces available in the antiKor, access to the web interface is made to passive if it is akif, and to active if it is passive.
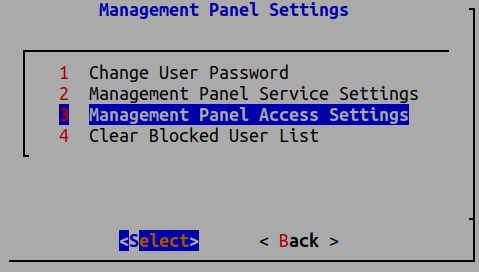
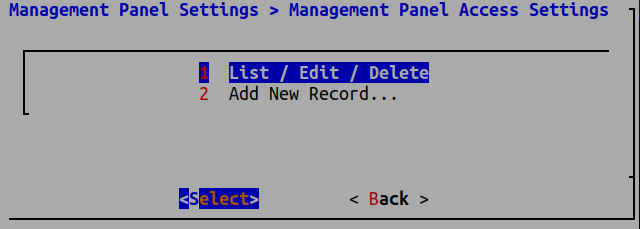
Management Panel Access Settings is where the IP or IP blocks that will access the web interface are set.
Enter List/Edit/Delete to view or update lists of IP or IP blocks that access the management panel.
IP blocks accessing the management panel are displayed.
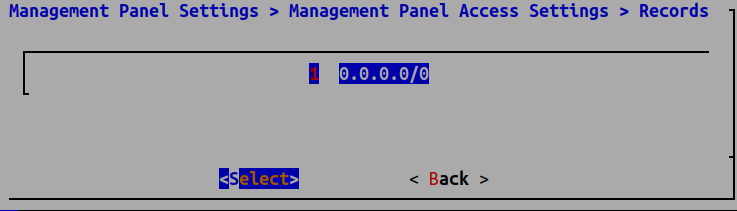
You can delete or update the IP or IP blocks in this list.

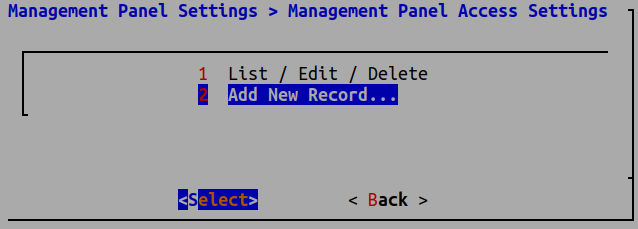
You can add a new IP or IP block with the Add new record…
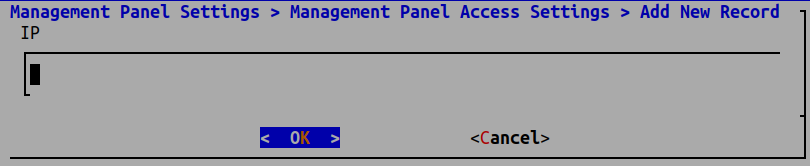
An IP or IP block is added to access the management panel.
The unblock users in the interface option unblocks users in the interface if they are somehow blocked from entering.

Terminal
As an admin, access to SSH commands is provided.
ePati Cyber Security Co.

Mersin Üniversitesi Çiftlikköy Kampüsü
Teknopark İdari Binası Kat:4 No: 411
Posta Kodu: 33343
Yenişehir / Mersin / TURKEY
Web: www.epati.com.tr
e-Mail: info@epati.com.tr
Tel: +90 324 361 02 33
Fax: +90 324 361 02 39